Showing posts with label DIY. Show all posts

The Stanley Wonder Bar Tool

The Stanley Wonder Bar Tool

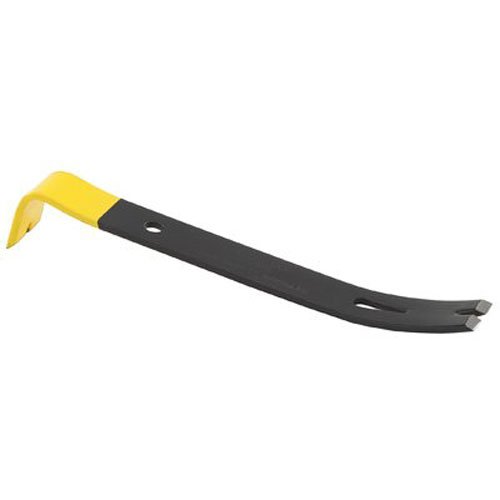
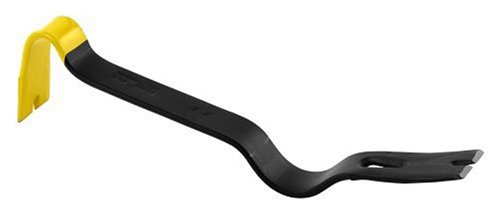
The Wonder Bar, the name says it all. No there are no buttons for low or high speed, you can’t even plug The Wonder bar tool in, it's just a bar.

 I’m going to tell you how I used my wonder bar over the years for various DIY projects.

If you’re a do-it-yourself kind of person and like to take on projects yourself. Most of the time the first thing that you have to do in any project is the demolition. I can tell you, there is no better tool than the Wonder Bar to help with demolition.

The First Project with My Wonder Bar Tool:


When we closed on our house, we had some serious work do to. Working on a budget we decided to take on as much work as we could, on our own in an effort to save some money. The very first thing we did was tear out all of the old carpets, in the living room, hallway, and bedrooms. 

After rolling up all of the old carpets and hauling it out to the curb. We had rows and rows of carpet tacks that were used to secure the padding. And, the tack strips along the baseboard were nailed in tight. 

Our carpet installer told us that they all had to come out. I bought not one but two Wonder Bars; I couldn’t handle two at a time so my wife used the other one. We spent a couple of days removing the tacks, and tack strips, along baseboards, in preparation for our new carpet. 

The angled end of the Wonder Bar made short work of the tacks on the floor. Then, we used the flat end for removing the tack strips along the baseboards.

The Second Project for The Wonder Bar Tool:


Removing the deck boards from our outside deck, and prying up the boards on the old deck was easy using the wonder bar. I’m sorry, I’m using the word easy because, it was a lot of work, but the Wonder Bar was a huge help.

The Third Project for The Wonder Bar Tool:


Removing the old tile from the bathroom floor was easy using the flat end of the bar and a hammer. I can go on and on, as to how many times I used this tool. But I think you get the idea. If you have some demolition to do in a future project. I recommend the Wonder Bar from Stanley. 


How to Replace Bathtub Caulking

How to replace bathtub caulking

What is bathtub caulking? And why do I need it? Bathtub caulking is the seal between the wall and the bathtub, and you need it, so water doesn’t get behind the tub wall or leak into the walls causing damage.

Our bathtub caulking began to show signs of mildew, and no matter what cleaner that I tried it always came back.

I like to take on these projects myself, as this one is really not that difficult. You really don't need to be an expert. All you need are the proper tools, somewhat of a steady hand, and some patience.

 I replaced my bathtub caulking just the other day. The job only took me about an hour, and the following step-by-step is how I did it.
Step 1 – Remove the old caulking
Remove bathtub caulking
Start by removing the old caulking. Tools required for this are a utility knife or putty knife. As you can see in the picture I chose a putty knife.

Start in a corner and get the tool under the old caulking either from the wall or the tub.
Once under the caulking push along the surface to remove the old caulking.


If your tool is on the surface of the tub be careful not to scratch the tub. Especially if you’re using a utility knife. Continue until all of the old caulking is away from the wall and tub.

If you have some difficult spots try some De-Solv-it Caulk Remover. You may even want to apply this before you start. This will soften up the old caulking and make it so much easier to remove. 
Step 2 – Clean the area


Now, you will want to clean the area. Wipe the entire area around the tub and wall with clean rags or paper towels. 
Avoid using soap, or any kind of house cleaner. This will create a film that the new caulking may not stick to.

After that, clean the area using rubbing alcohol. This should remove any unwanted residue left behind.

Step 3 – Apply new caulking


Apply the new caulking
Now that the area is clean and free of residue.

It’s time to apply the new caulking. I use DAP Kwik Seal, Kitchen& Bath Adhesive Caulk.

I use the tube, but you can also buy it in a canister. 


If you buy the canister will need a caulking gun. Cut the tip of the tube at a 45-degree angle.

Apply the caulking by squeezing the tube or pulling the trigger, if you’re using a caulking gun. Apply steady and easy pressure around the tub.
Step 4 – Trim the caulking


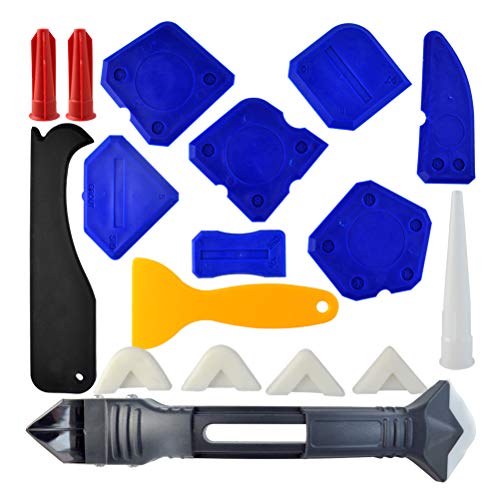
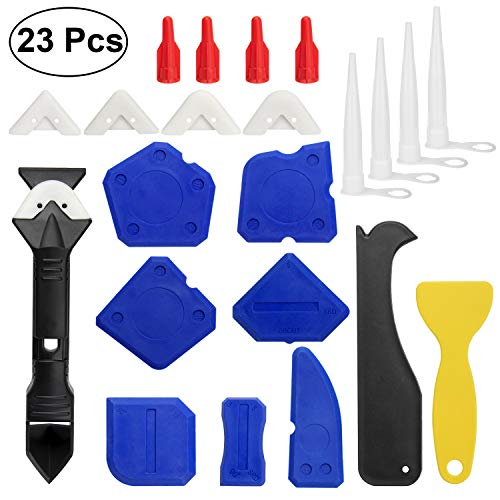
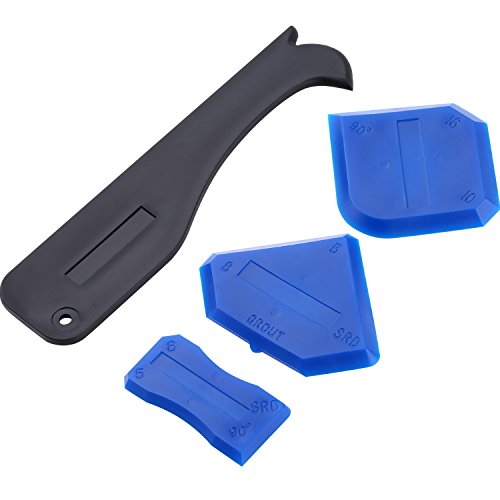
I use this handy little tool to trim out the caulking. You can find one at any hardware store or buy a complete kit that includes the caulking and the trim tool.
Just remember to keep the tip focused on the caulking and the adjacent edge flat on the tub.

 Wipe the excess caulking from the tool with a paper towel frequently.


Step 5 - All done 


The completed job and all nice and neat.


You don't want to use your tub for at least 24 hours. Follow the instruction on the tube of caulking.

A Simple Garden Tool

A Simple Garden Tool
When spring arrives there will be so much work to do taking care of those flower beds and planting our gardens. 

Spreading the mulch, and pulling the weeds, Oh! So much work to do.


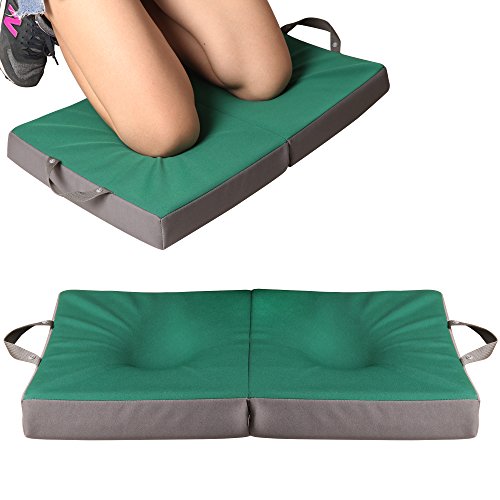
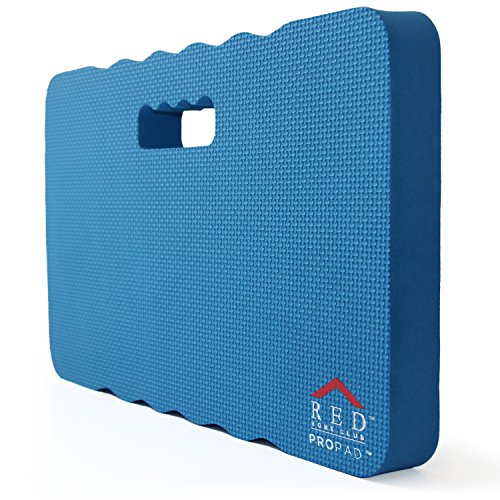
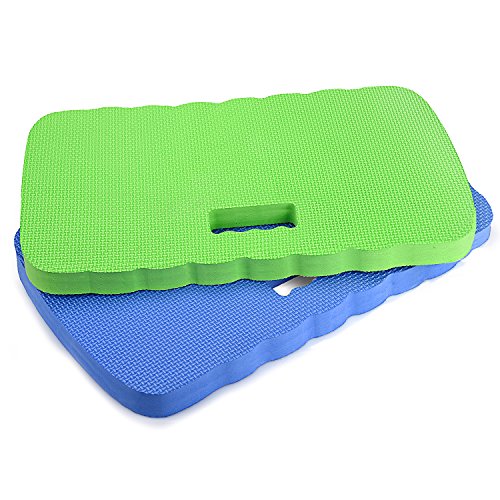
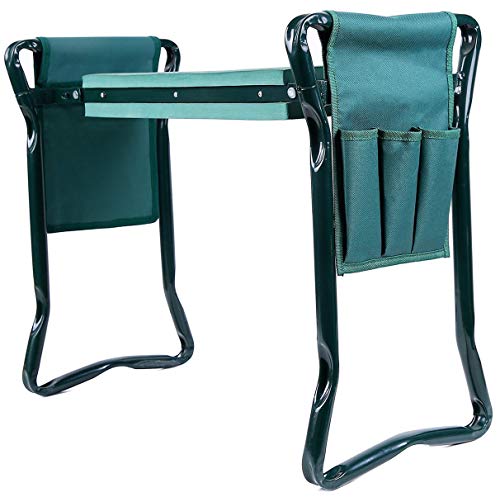
Time to get the garden tools out of the garage and go to work. I have so many handy garden tools; one of my favorites is just so simple. My foam kneeling pad is the tool I use almost every time I’m in the yard.

Foam kneeling pads are so handy especially when planting flowers, and vegetable plants in the garden, or pulling weeds. These handy kneeling pads will save your knees and back.

I’ve ruined a few pairs of jeans working in the garden. And, if you’re out there working in shorts forget it!! Just Use the comfort of a foam kneeling pad.

I also keep one for jobs inside the house. Such as, washing the baseboards; scrubbing the kitchen floor. Why kneel on a hard surface when you can have the comfort of kneeling on foam. These are perfect to use to paint the baseboard or trim work in low spots.

There are no batteries to charge, no cords to plug in, and no maintenance whatsoever. Keep these kneeling pads handy in the garage or inside the house. This is one low-cost handy garden tool.


“ I earn from purchases of Affilate links on this post.” Disclosure Statement

X