What is bathtub caulking? And why do I need it? Bathtub caulking is the seal between the wall and the bathtub,
and you need it, so water doesn’t get behind the tub wall or leak into the walls
causing damage.
Our bathtub caulking began to show signs of mildew, and no matter what cleaner that I tried it always came back.
Our bathtub caulking began to show signs of mildew, and no matter what cleaner that I tried it always came back.
I like to take on these projects myself, as this one is really not
that difficult. You really don't need to be an expert. All you need are the
proper tools, somewhat of a steady hand, and some patience.
I replaced my bathtub caulking just the other day. The job only took me about an hour, and the following step-by-step is how I did it.
Step 1 – Remove the old caulking

Start by removing the old caulking. Tools
required for this are a utility knife or putty knife. As you can see in the
picture I chose a putty knife.
Start in a corner and get the tool under the old caulking either
from the wall or the tub.
Once under the caulking push along the surface to remove the old
caulking.
If your tool is on the surface of the tub be careful not to scratch the tub. Especially if you’re using a utility knife. Continue until all
of the old caulking is away from the wall and tub.
If you have some difficult spots try some De-Solv-it Caulk Remover. You may even want to apply this before you start. This will soften up the old caulking and make it so much easier to remove.

Avoid using soap, or any kind of house cleaner. This will create a film that the new
caulking may not stick to.
After that, clean the area using rubbing alcohol. This should remove any unwanted residue left behind.
Step 3 – Apply new caulking


Now that the area is clean and free of
residue.
It’s time to apply the new caulking. I use DAP Kwik Seal, Kitchen& Bath Adhesive Caulk.
I use the tube, but you can also buy it in a canister.
If you
buy the canister will need a caulking gun. Cut the tip of the tube at a 45-degree angle.
Apply the caulking by squeezing the tube or pulling the trigger,
if you’re using a caulking gun. Apply steady and easy pressure around the tub.
Step 4 – Trim the caulking
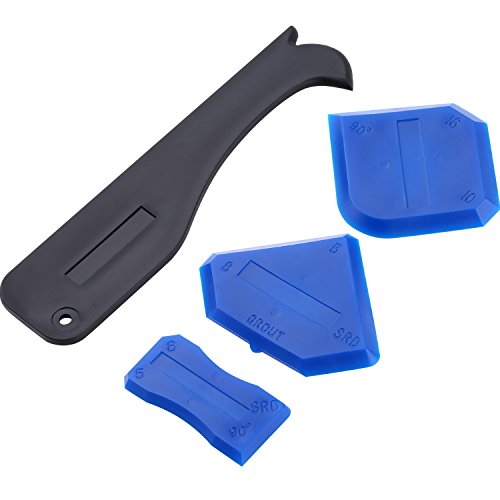
 I use this handy little tool to trim out the
caulking. You can find one at any hardware store or buy a complete kit that includes the caulking and the trim tool.
I use this handy little tool to trim out the
caulking. You can find one at any hardware store or buy a complete kit that includes the caulking and the trim tool.

Just remember to keep the tip focused on the caulking and the
adjacent edge flat on the tub.
Wipe the excess caulking from the tool with a paper towel frequently.
Wipe the excess caulking from the tool with a paper towel frequently.
Step 5 - All done
The completed job and all nice and neat.

You don't want to use your tub for at least 24 hours. Follow the instruction on the tube of caulking.
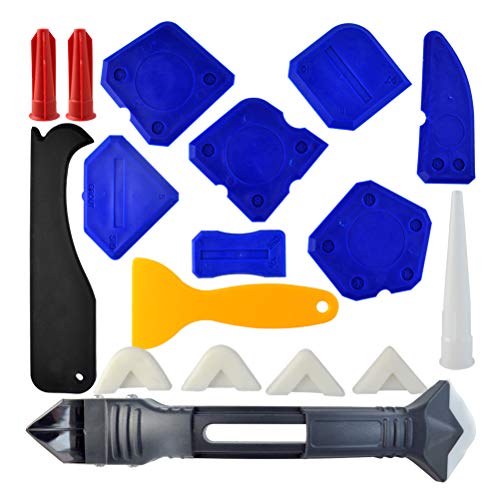
18 Pieces Caulking Tool Kit, Wobe 3 in 1 Caulking Tools Silicone Sealant Finishing Tool Grout Scraper Caulk Remover Caulk Nozzle Caulk Caps 5 Replaceable Pads for Bathroom Kitchen Sealing (Blue) 23 Pieces Caulking Tool Kit, 3 in 1 Caulking Tools Silicone Sealant Finishing Tool Grout Scraper Caulk Remover and Caulk Nozzle and Caulk Caps 3 Replaceable Pads Bathroom, Kitchen, Room Sealing.Outus 4 Pieces Sealant Tool Caulking Tool Kit for Bathroom Kitchen and Frames Sealant Seals (Black, Red) (Black, Blue)
 23 Pieces Caulking Tool Kit, 3 in 1 Caulking Tools Silicone Sealant Finishing Tool Grout Scraper Caulk Remover and Caulk Nozzle and Caulk Caps 3 Replaceable Pads Bathroom, Kitchen, Room Sealing.
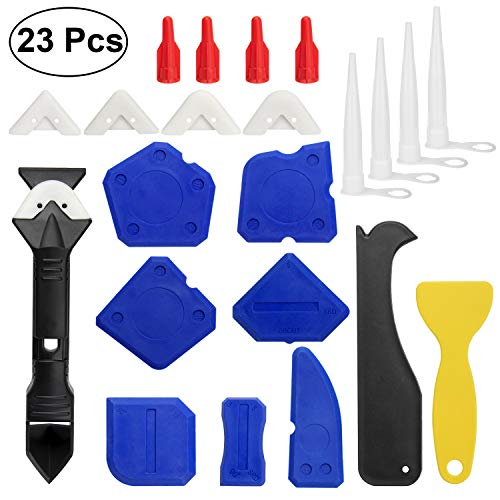 Outus 4 Pieces Sealant Tool Caulking Tool Kit for Bathroom Kitchen and Frames Sealant Seals (Black, Red) (Black, Blue)