

Cleaning the interior glass on your oven door is probably something that you don't think about that often. Over time the glass is going to get dirty from drips and spills.
Fran thought it was time to clean the glass on our oven door. First, you have to access the glass, our oven door happens to have 3 sets of glass one on the inside, outside, and one in the middle. This means that we had to take the door apart to be able to access and clean them.

First, take note as to what type of screwdriver you need, some will be a star-type bit or it could be a square, or Phillips head, mine happened to be square.
The two screws on the top should also hold the handle on so when you take these out the handle is going to come off.
When you remove the last screw on the bottom of the door, be careful as this will separate the oven door from the casing. So hold the bottom or place a box under the door to support it.

This was not the case with our door we still had to remove five screws pictured here.
Three across the top and one on each side. These screws can be removed with your standard Phillips head screwdriver.
After we got the door apart we found that we had another four Phillips head screws to remove the middle glass.
Tip for the middle glass screws: Make a mark where the screws are so when you put it back together you know what hole they go into, as ours had several holes across this bracket. Once we had everything apart Fran cleaned the glass with a baking soda paste and water.
Before we started this job we watched the following video. Although it wasn't the same as our oven door it is a great starting point and really helped. I recommend watching this video before you start.
This was a fairly simple do-it-yourself project and watching the video was a huge help. If you are not comfortable taking this on I recommend calling a certified appliance technician.
Stanley 68-010 Multibit Ratcheting Screwdriver with 10 Assorted
Bits Delcast LP-29 Electronics Multi-Bit Screwdriver Set, 29 Piece SetEverKits Screwdriver Set - Precision & Regular Ratcheting. Bits:
Torx,
Delcast LP-29 Electronics Multi-Bit Screwdriver Set, 29 Piece SetEverKits Screwdriver Set - Precision & Regular Ratcheting. Bits:
Torx,
 Delcast LP-29 Electronics Multi-Bit Screwdriver Set, 29 Piece Set
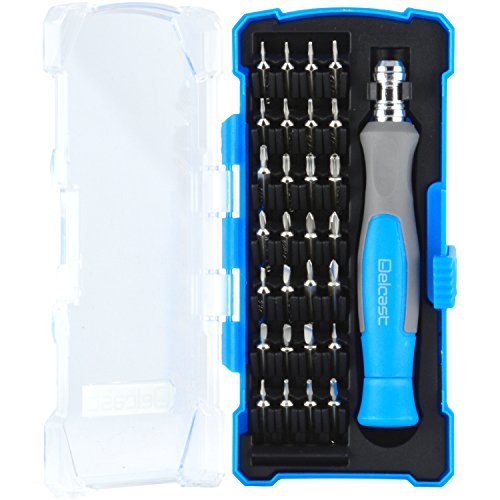 EverKits Screwdriver Set - Precision & Regular Ratcheting. Bits:
Torx,
EverKits Screwdriver Set - Precision & Regular Ratcheting. Bits:
Torx,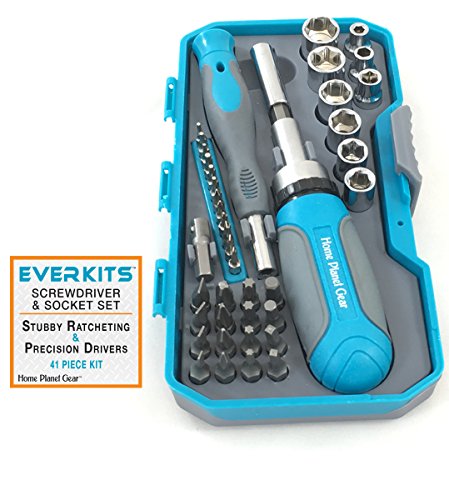
&


